

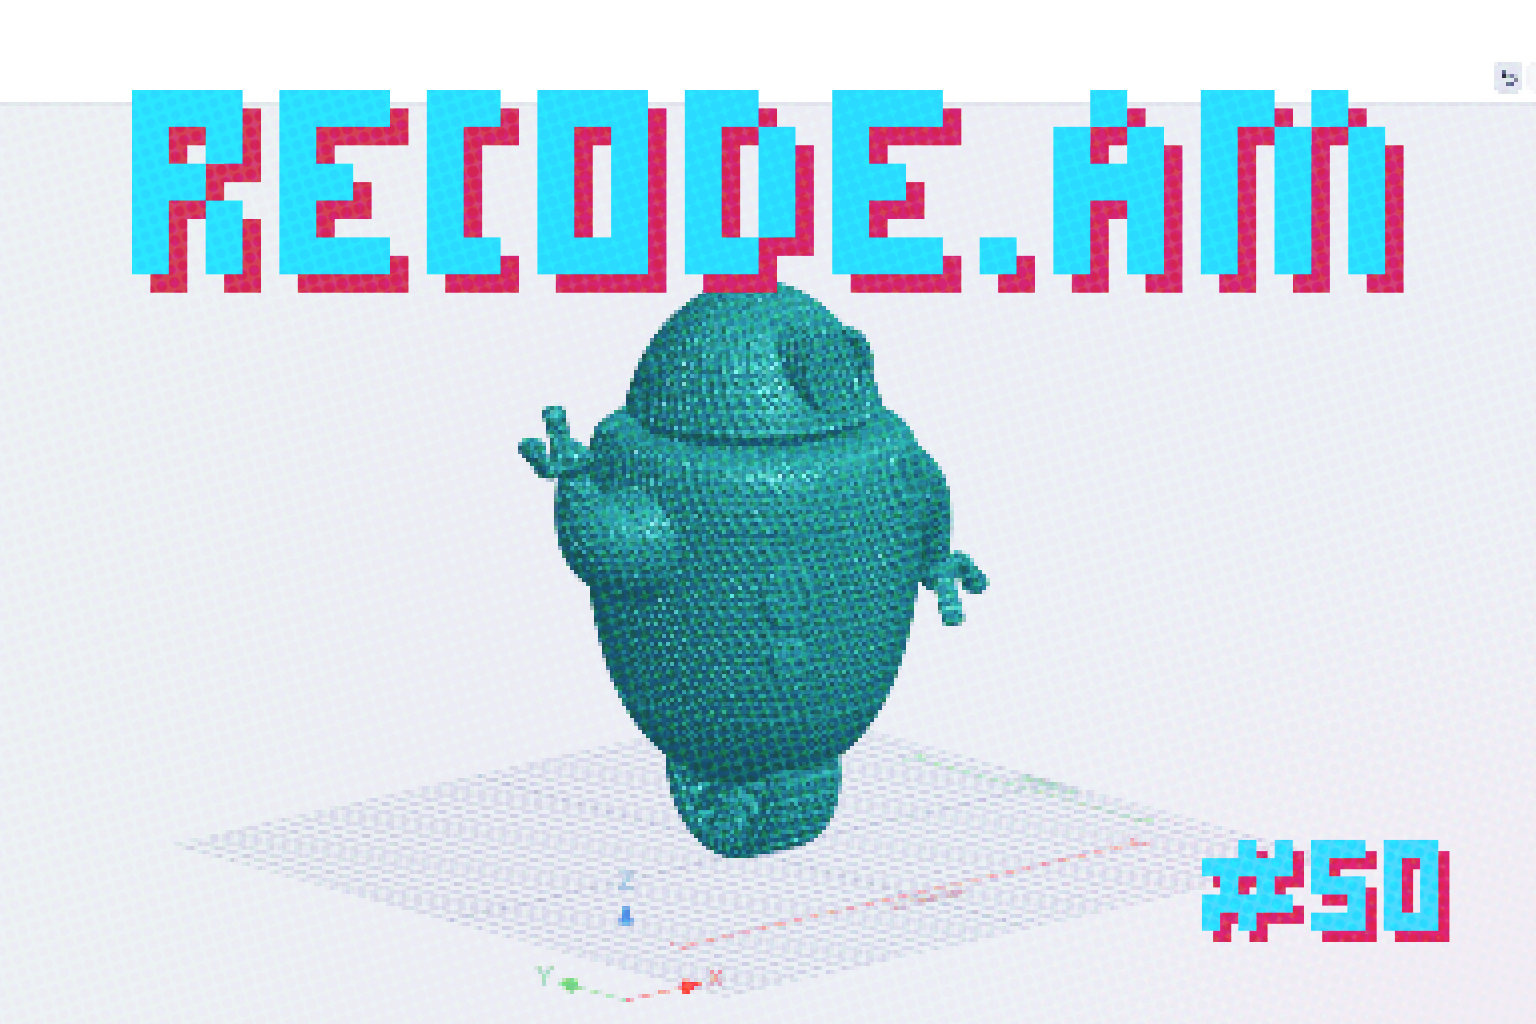
BumpMesh- a browser-based tool that makes 3D texture mapping easy
RECODE.AM #50

BumpMesh is one of those tools that feels so obvious in hindsight that it’s surprising nobody built it earlier. At least not in this form.
And even though the software first appeared at the beginning of April - so it’s not exactly brand new anymore - it still deserves a dedicated article in this series. Better late than never, especially when the tool is genuinely this good.
So what exactly is BumpMesh?
Imagine designing a microphone grip or terrain for a tabletop game and wanting the printed surface to have texture - not the random kind created by fuzzy skin in a slicer, but something controlled, predictable, and custom.
In parametric CAD, that simply isn’t possible. Blender theoretically allows it, but Blender is its own universe, complete with its own vocabulary and a learning curve capable of killing motivation instantly.
BumpMesh fits perfectly into that gap: it’s a free browser-based tool for applying displacement textures to 3D models.
No installation, no registration, no subscription fees. Files are processed locally on the user’s own computer.
Who’s behind it?
The creator is Stefan Hermann, better known from his YouTube channel CNC Kitchen. Today it’s one of the largest and most respected channels dedicated to 3D printing.
Hermann is known for approaching every topic like an engineer - with testing, measurements, and conclusions.
He’s not a 3D artist, and he openly admits Blender defeated him: it was opened, half a UV unwrapping tutorial was watched, confusion followed, and the software was closed. Instead of continuing to fight a tool that didn’t match his way of thinking, he did what makes sense in 2025 - he asked AI for help building his own solution.
The entire BumpMesh project was created in roughly a week and reportedly cost about twenty dollars in Copilot subscriptions. The result is impressive.
How does it work in practice?
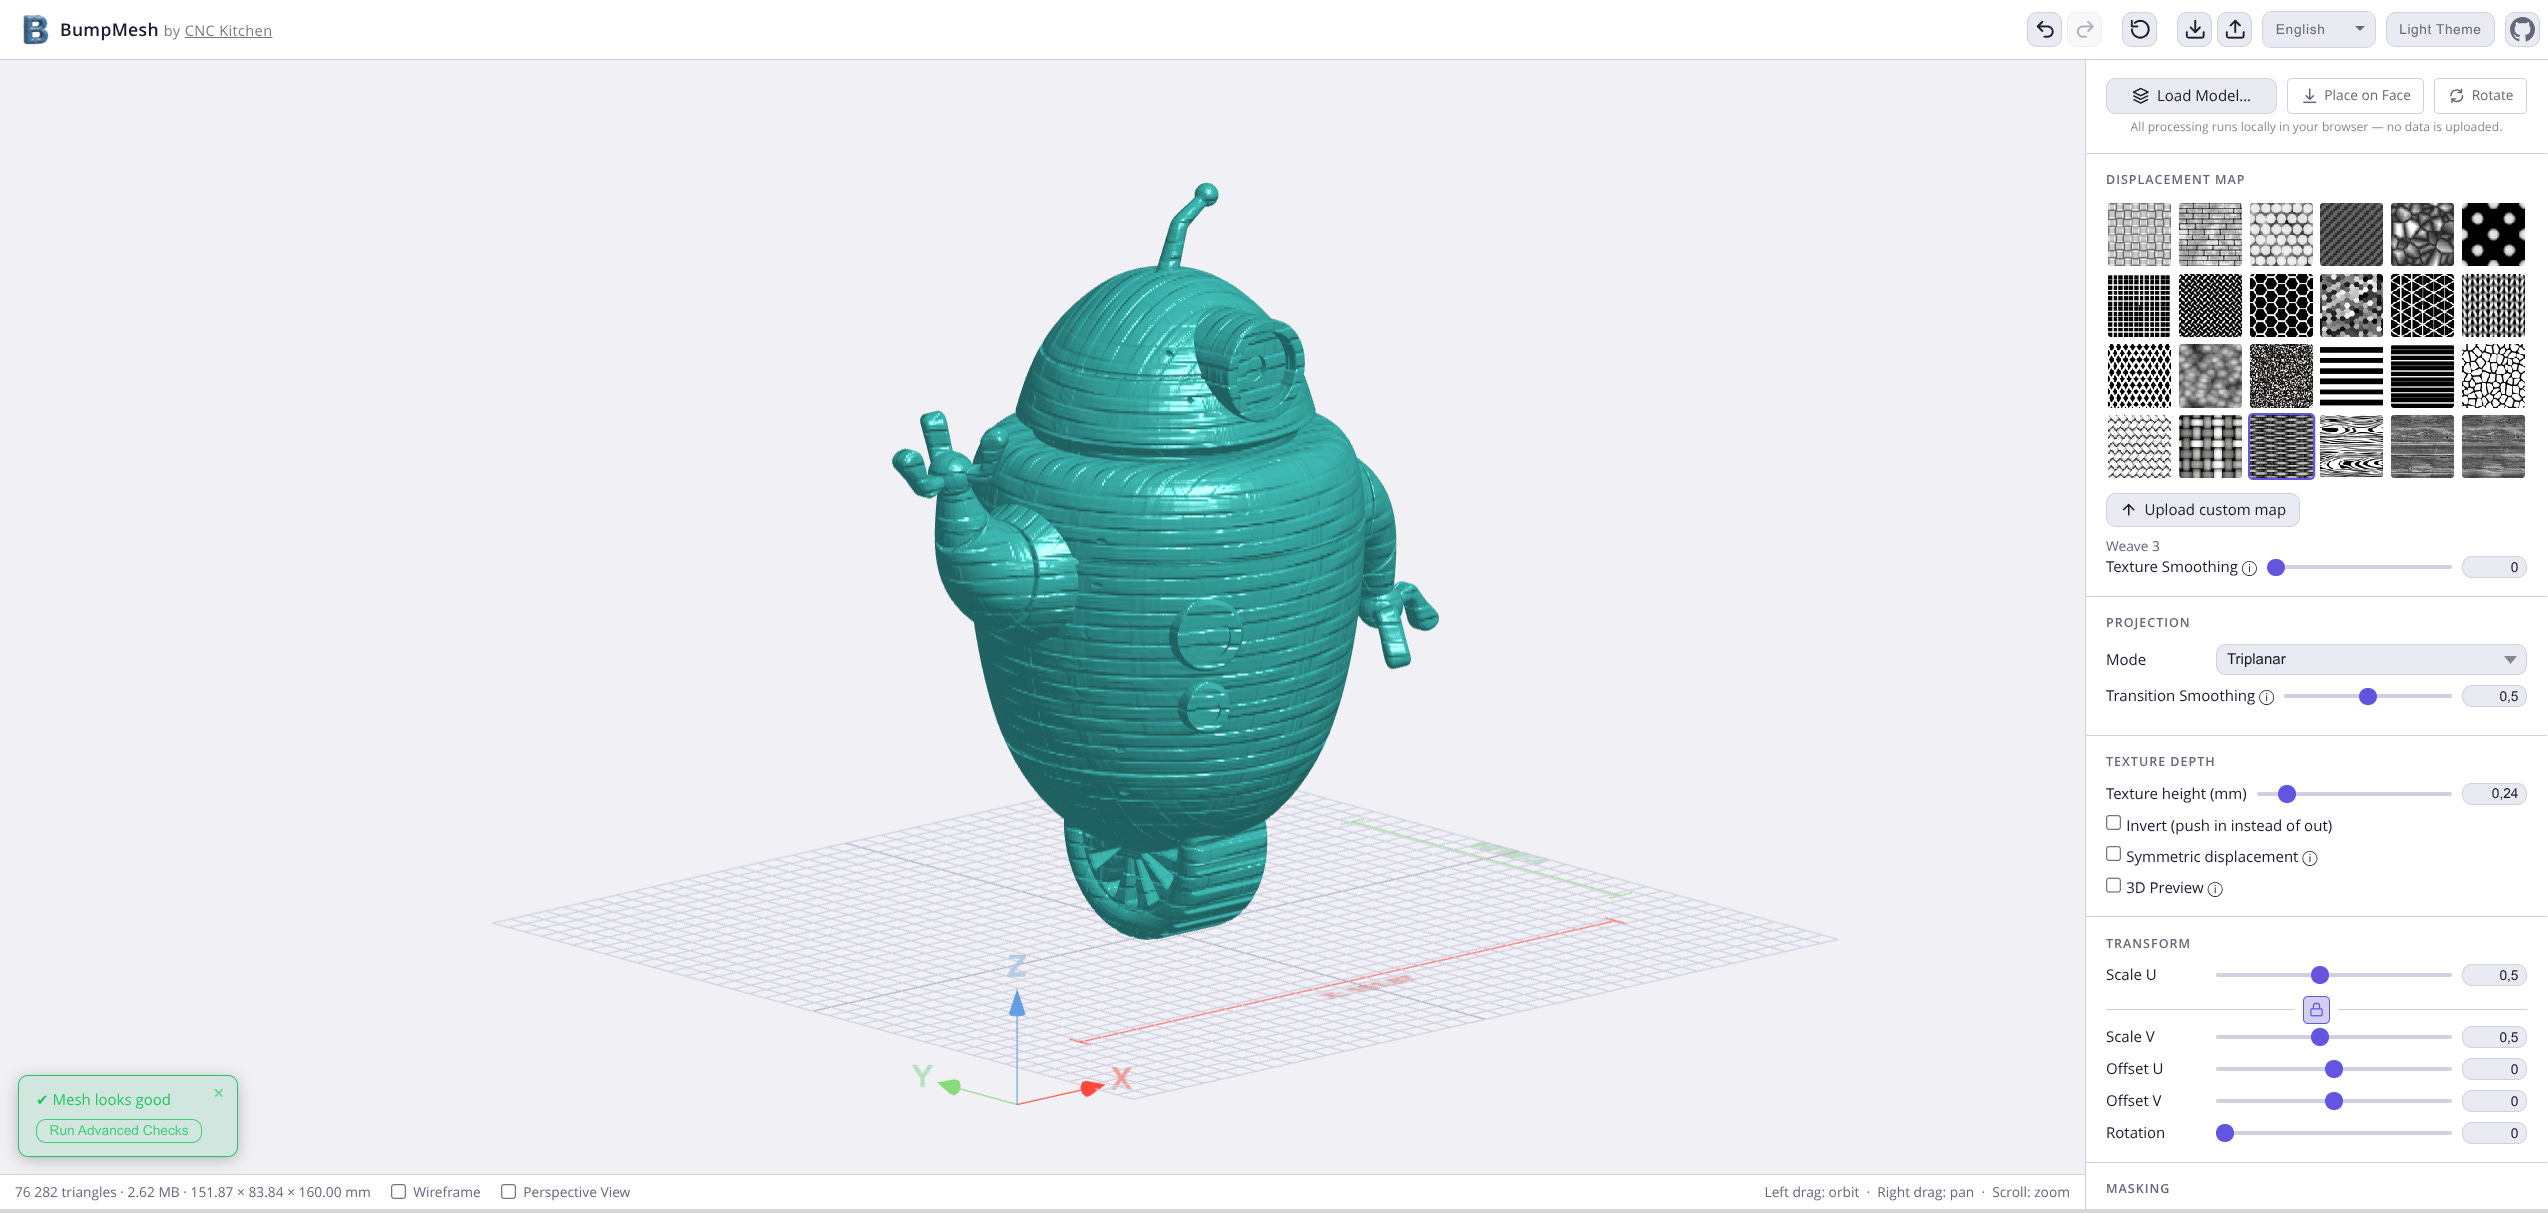
The workflow starts at bumpmesh.com: upload an STL, OBJ, or 3MF file and begin. The interface is intuitive - there are dark and light themes, switching between English and German is possible, and the entire workflow is designed not to get between the user and the final result.
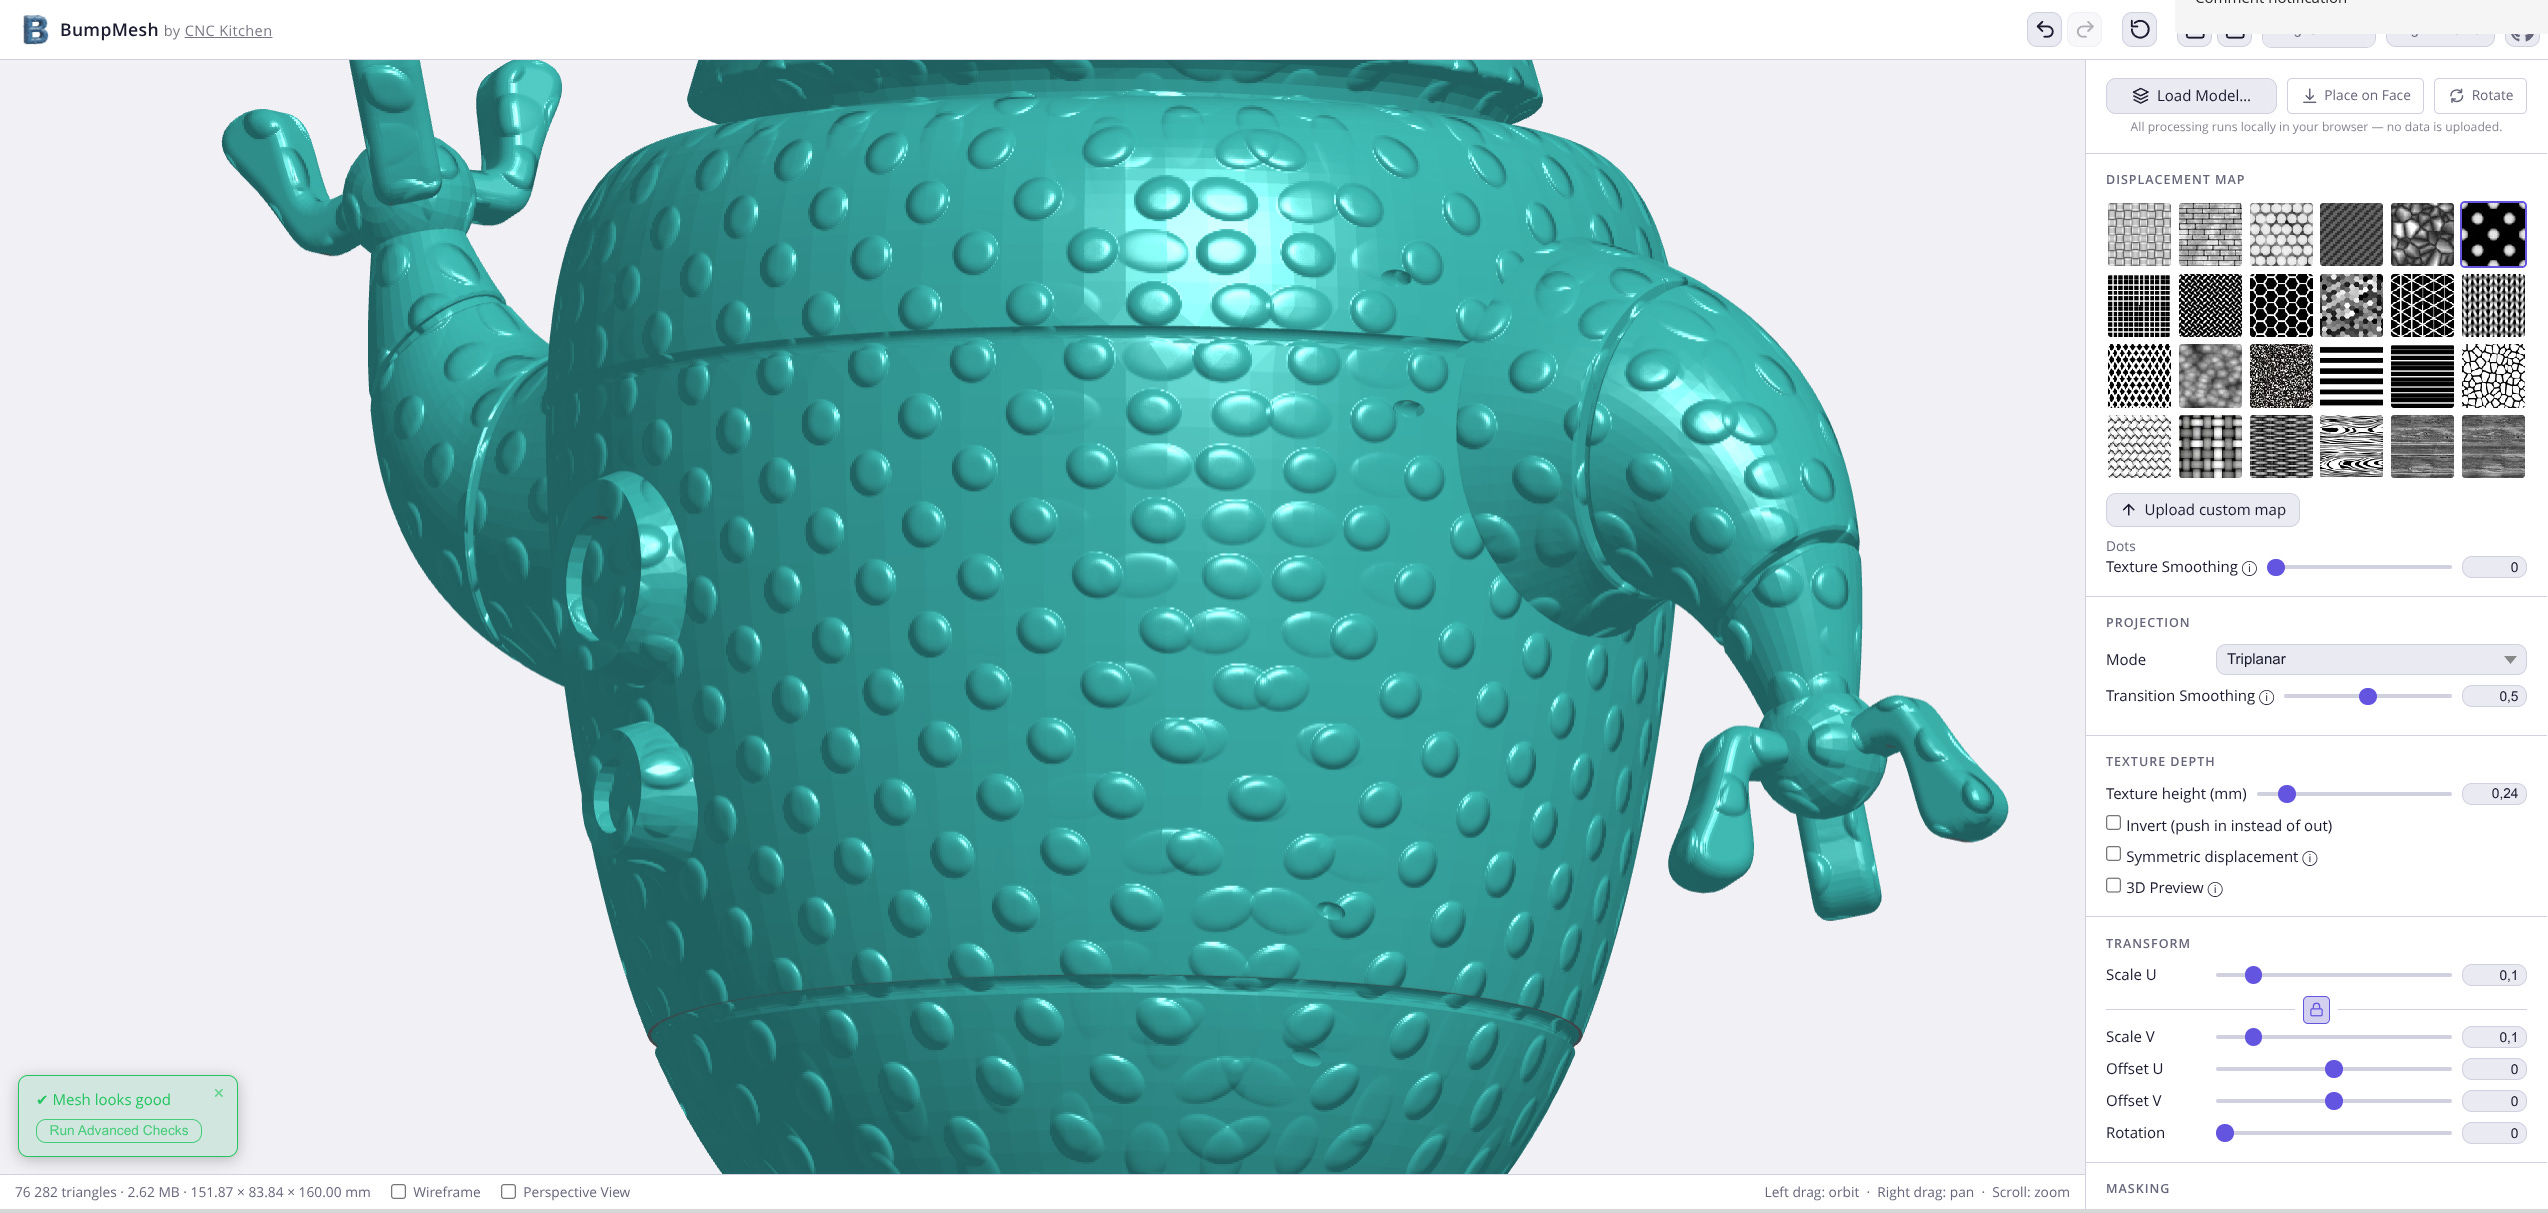
The key idea is that texture is generated from a grayscale image. BumpMesh already includes twenty-four built-in patterns, but custom images can also be uploaded - even something as simple as a product photo found online, cropped, desaturated, and boosted in contrast.
Pixel brightness directly determines how deep or how raised the texture becomes on the model surface.
To wrap the texture correctly around geometry, several projection modes are available. Planar works well on flat surfaces, Cylindrical on bottles and handles, and Triplanar on more cube-like forms. This is one of the most important parameters, and experimenting with it is worthwhile because a poor choice becomes visible immediately.
If texture should only appear on selected parts of the model, surface masking is available. There is a brush tool as well as a bucket fill tool operating on the model’s faces. Areas can be selected to receive texture, or excluded entirely - for example the underside of a model, to preserve bed adhesion. That part is handled by Angle Masking, which automatically avoids surfaces positioned at a specified angle. It is especially useful for preserving clean bridges and overhangs.
The “symmetric displacement” toggle determines whether the texture protrudes outward or sinks inward. Everything happens in real time - results appear immediately.
In his video, Hermann demonstrates something less obvious: the right texture can actually improve print strength. Textured surfaces also hide layer lines and seams very effectively - imperfections that can become irritating on smooth models. And for anyone printing terrain, props, grips, or any object where tactile surface control matters, BumpMesh essentially introduces an entirely new category of possibilities.
The only issue Hermann himself mentions is the need for repeated exports when applying multiple textures to a single model. One texture is applied, exported to STL, reimported, then another texture is added. One export cycle per texture.
He’s already working on improving that workflow, but considering this is practically the only real inconvenience, it’s difficult to complain.
The code is open-source and available on GitHub. Feedback can be submitted through Printables, MakerWorld, and GitHub. For something built in a week, it’s an impressively solid starting point.
If bumpmesh.com hasn’t been visited by you yet, this is a good reason to change that.